Is it time to update WordPress, but the fear of potential glitches is holding you back? Once your WordPress website is up and running, regular maintenance is crucial to keep it in optimal condition. Updating your WordPress site becomes imperative as neglecting update messages on your dashboard can lead to compatibility issues, malfunctions, or even a total breakdown.
Reasons to Update a Site to the Latest WordPress Version
Like any software, updating ensures WordPress users can enhance their sites with new features, upgrades, and bug fixes. Failure to update can result in decreased site efficiency, lower traffic, and decreased visitor exploration. There are several perks to updating WordPress:
1. Better Security: Previous versions are more susceptible to security vulnerabilities. Security updates prevent hackers from stealing confidential data.
2. Speed: Installing a new version can speed up the site, making it more responsive on various browsers and devices.
3. Compatibility: The new release ensures your site is compatible with plugins and themes, allowing seamless installation of additional features.
4. Functionality: Updates bring new or improved quality-of-life features, providing more options and tools for scaling up your site.
For minor releases, WordPress can automatically update itself. However, for major releases, manual initiation is required unless you’re on managed WordPress hosting. Here’s a step-by-step guide on how to safely update WordPress to the latest version:
Things to Do Before Updating WordPress
Before updating to the WordPress latest version, it’s essential to prepare for any potential issues. Keep in mind that these updates impact your site files and their database. Here’s a quick checklist:
- Read and Understand the Update Notice: Check the WordPress changelog for details on new features or security patches.
- Create a Full WordPress Backup: Backups act as a safety net in case of errors during updates. Ensure you can restore your site.
- Turn Off Caching: Clear your WordPress cache and deactivate caching plugins to prevent interference with the update process.
- Deactivate Other Plugins: Some updates may not be compatible with certain plugins, leading to an inaccessible website. Deactivate any add-ons before updating.
- Upgrade PHP Version: Ensure your current PHP version is compatible with the update.

Updating WordPress to the Latest Version
We’ll show you four methods to update your WordPress site step-by-step.
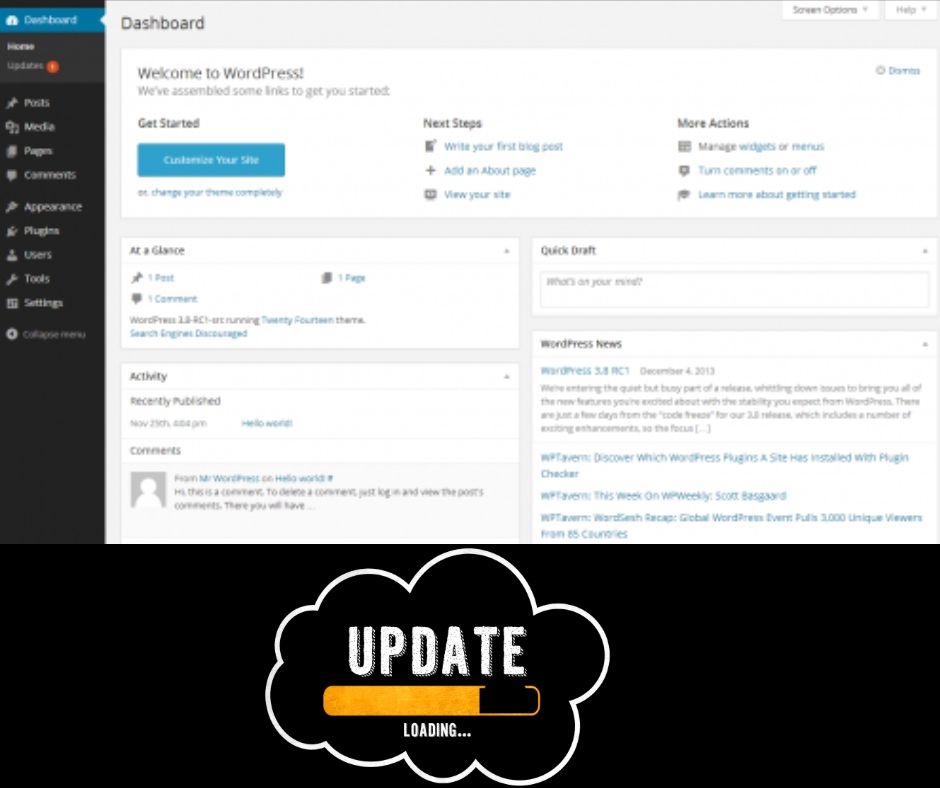
1. Update WordPress via the WP Admin Dashboard
– Log in to your WordPress admin dashboard.
– Check for a new WordPress release at the top of the dashboard.
– Click on “Update Now” to initiate the update.
– Follow the prompts to complete the process.
2. Update WordPress Manually via FTP
– Download the latest WordPress version and unzip the ZIP file.
– Delete the wp-config-sample.php file and the wp-content folder from the extracted folder.
– Log in to your WordPress site as an FTP client.
– Delete the existing wp-includes and wp-admin directories.
– Upload the new wp-includes and wp-admin folders from the latest version.
– Overwrite old files by uploading new ones to the server.
– Go to yoursite.com/wp-admin/upgrade.php/ to check for successful updates.
3. Update WordPress via WP-CLI
An alternative, slightly more advanced approach for manually updating WordPress involves using WP-CLI, a command-line tool designed to manage WordPress sites via SSH. It requires WP-CLI installed on your computer to execute the following commands. To start, access your site server using SSH credentials, likely the same as your SFTP or FTP credentials, though you should verify this with your hosting provider.
1. Navigate to the root directory of your WordPress site.
2. Check for WordPress core updates by entering the command: `wp core check-update`.
3. Execute the WP version update by typing: `wp core update`. It’s a straightforward process. Upon completion, a success message will confirm the update.
4. If a database update is required, run the command: `wp core update-db`.
4. Update WordPress Automatically
– Enable automatic updates for minor releases, and depending on your web host, for major releases.
– Use a relevant plugin or add a line of code in the wp-config.php file to enable automatic updates.
How to Update WordPress Themes and Plugins
After updating core files, don’t forget to update themes and plugins to avoid operational errors. Regularly check and update them to synchronize features and prevent potential crashes.
1. Navigate to the Updates page via the Dashboard menu.
2. Select plugins and themes for updating.
3. Click “Select All” or update individually.
4. Run a live preview to ensure successful updates.
Here’s a pro tip- use a child theme to avoid losing customizations when updating the main theme.
Things to Do After Updating WordPress
After completing the update, it’s essential to review your website to ensure everything is functioning correctly. Visit your website in a new browser window and review the settings in the WordPress admin area. This step is crucial to identify and address any potential issues that may have arisen during the update process.


